
Your dog goes everywhere but right beside you? At the curb he yanks to the left, in a crowd to the right, and during dog encounters he's completely gone? Then he needs "heel." Not as a permanent state, but as a precise signal for exactly these moments. In 4 steps you build up the command, from eye contact to walking confidently under distraction. Prerequisite: sit, down, and stay should already be solid.
- Dog walks on your left side, shoulder at knee height, attentive and relaxed
- Training in 4 steps: eye contact, treat guidance, distance, stimuli
- Standard leash of 1.5-2 meters, harness instead of collar
- Keep training sessions short (3-5 minutes) and end them with a release signal
- Prerequisite: eye contact, sit, down, and stay all have to be solid
What "heel" means

When your dog heels, he walks on your left side, shoulder at knee height, and responds to changes of direction and pace. He doesn't pull, doesn't stop on his own, and doesn't get distracted. This isn't a relaxed stroll, but an active base position.
Decide beforehand which side your dog should walk on. What matters is that the dog never switches sides. The left side is standard in dog sports, but the side always has to stay the same. Anyone who switches between right and left confuses their dog.
Training in 4 steps
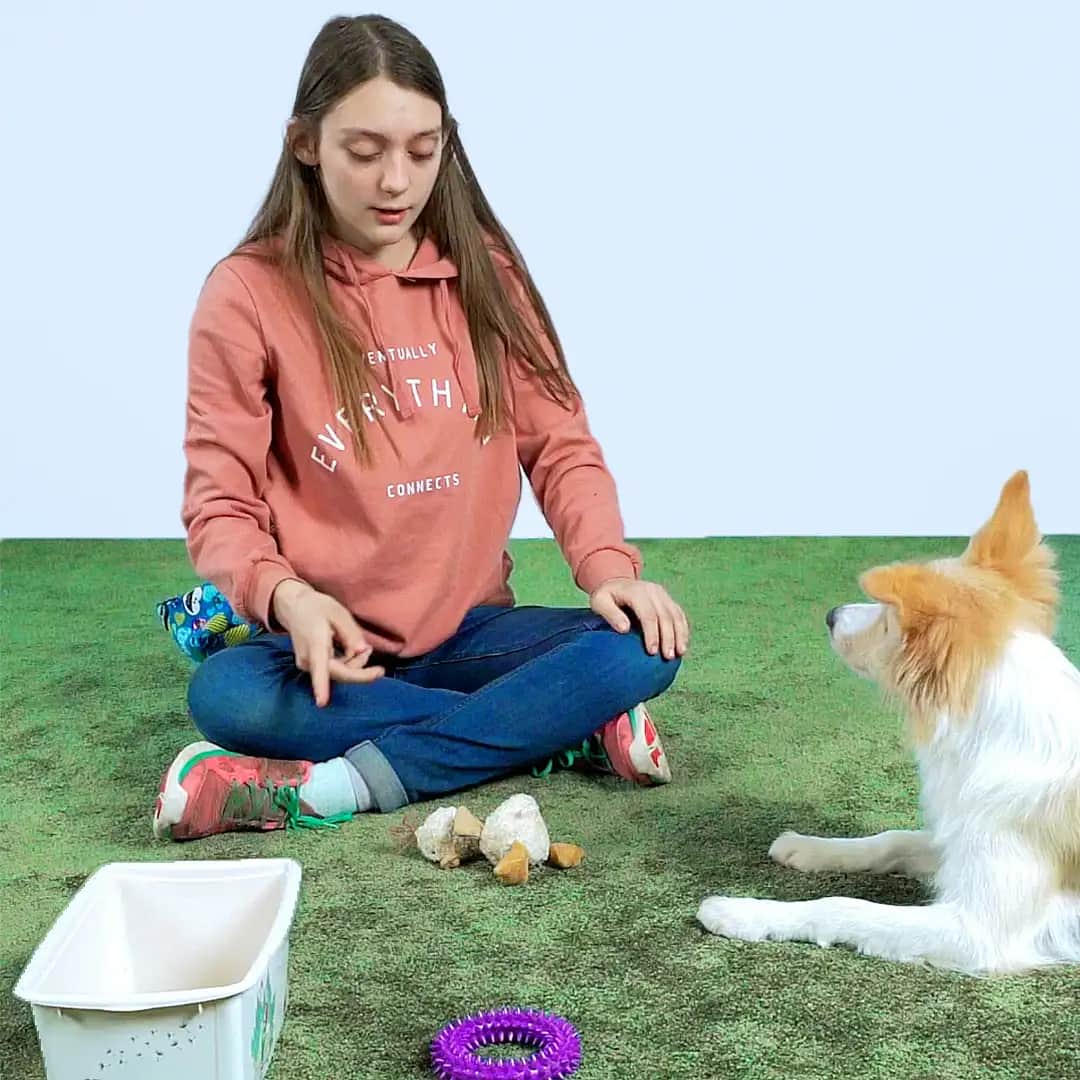
Step 1: Build eye contact. Before you can start training, your dog has to learn to look at you while standing. Wait until he looks up on his own, and praise him immediately with treats. 10-15 repetitions per session. Without reliable eye contact, walking at your side won't work.
Step 2: The first steps with the treat. Take a treat in the hand on the side your dog should walk on. Say "heel", tap your thigh, and take 2-3 steps. He follows the smell and automatically holds the right position. Stop, give a treat. Only a few steps per run, but lots of repetitions. 3-5 minutes per session is enough.
Step 3: Distance and changes of direction. Extend the distance step by step: first 5 steps, then 10, then a whole straight stretch. The next step brings curves, sudden turns, and changes of pace. Raise the hand with the treat a bit higher so he focuses on you instead of on your fist. Each requirement has to work 9 times out of 10 before the next one comes.
Step 4: Increase the stimuli. Start indoors. Then practice in the yard, after that on a quiet street, and finally at the park. Higher-value food like cheese or cooked chicken helps with distraction outdoors. Have an acquaintance walk past, then a jogger, then another dog. Solidify each level separately. If he breaks out, go back to the last level that worked.

Your training plan
0/6Common mistakes
No release signal. Without a clear "OK" or "go", your dog decides for himself when to leave the position. Every exercise needs an ending. Anyone who forgets this trains inconsistently.
Sessions too long. Puppies can concentrate for 3 minutes at most, adult dogs 5-10. Anyone who practices for 20 minutes straight frustrates both sides. Short and often is better than long and rare.
Rewarding too late. The window is under a second. If you take 3 seconds, you're not rewarding the right step but the standing still that comes after it. Training impulse control beforehand makes the timing easier.
Using a retractable leash. The extendable leash has no fixed distance. Your dog never learns where his position is. A standard leash of 1.5-2 meters, harness instead of collar. That's part of the basic equipment for any dog training.
Basic commands
Were you paying attention?
Question 1 of 3Which side should your dog heel on?
The exercises in this article are an excerpt from the Hundeo course "Basic Commands." With Hundeo Pro you'll find all cues as video instructions in four difficulty levels, plus training tracking and, when problems come up, personal help from real trainers.